How to Stop a Bathroom Shower from Leaking
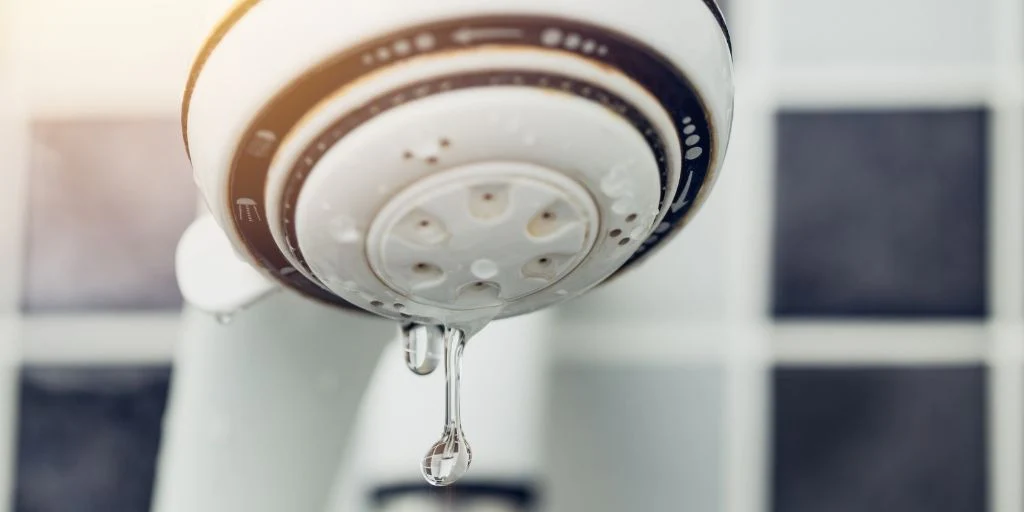
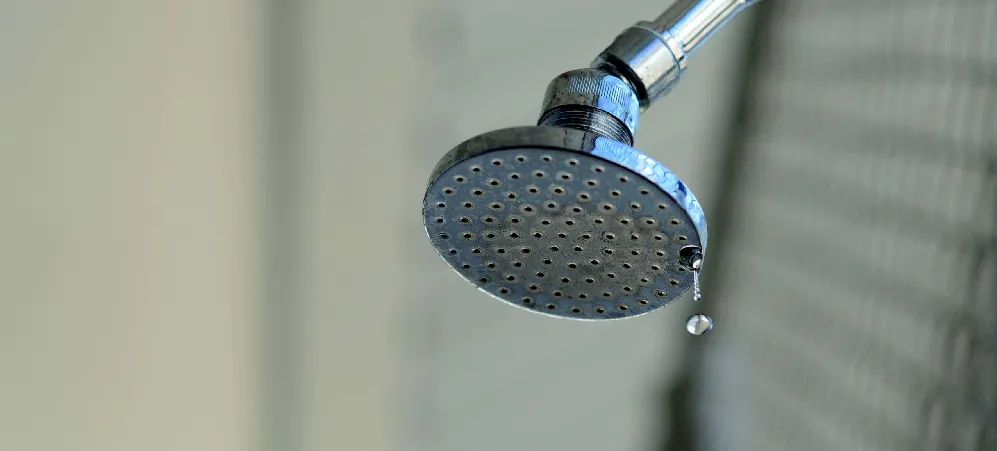
Is there anything more frustrating than a leaking shower? Not only does it create a mess, but it can also lead to water damage and costly repairs if left unattended. But fear not! We will guide you through the process of stopping your bathroom shower from leaking. Whether you’re dealing with a dripping faucet or a pesky leak in the showerhead, we’ve got you covered. So grab your tool belt and let’s get started on fixing that leaky shower once and for all!
Understanding the Causes of a Leaking Bathroom Shower

Before making any repairs, it’s important to determine the root cause of a leaky shower. One common culprit is a worn-out or faulty showerhead. Over time, the seals, or O-rings, inside the showerhead can deteriorate, leading to leaks. Another potential cause is a malfunctioning faucet washer in compression faucets. This small rubber component helps create a watertight seal when the faucet is turned off, but it can wear out over time and cause leaks.
Additionally, if you have an older shower with a cartridge system, it might be worth considering whether the cartridge itself needs replacing. A damaged or worn cartridge can result in water leaking from your shower. By understanding these causes of leaking showers, you’ll be better equipped to tackle them head-on and prevent further damage down the line. So let’s dive into our step-by-step guide to fixing that troublesome leak!
Step-by-Step Guide to Fixing a Leaking Shower
Fixing a leaking shower doesn’t have to be complicated. With some basic tools and a little bit of know-how, you can tackle this common household issue on your own. Here’s a step-by-step guide to help you get started.
First, clean the shower head and handle. Over time, mineral deposits can build up and cause leaks. Use a toothbrush or sponge with vinegar to scrub away any grime or buildup. Next, turn off the water supply to your shower. This will prevent any further leakage while you work on fixing the problem.
Now it’s time to remove the shower head. Use an adjustable wrench or pliers to unscrew it from the shower arm. Once removed, soak the shower head in vinegar for about 30 minutes to dissolve any remaining mineral deposits.
After that, check for worn seals or O-rings inside the faucet body or valve assembly. These small rubber components can wear out over time and cause leaks. If necessary, replace them with new ones from your local hardware store.
Compression faucets may also require a replacement faucet washer if they are causing leaks in your shower. Remove the old washer and replace it with a new one using pliers or an adjustable wrench.
For showers with cartridge valves, consider replacing the entire cartridge if none of these other steps fix the leak issue at hand.
To prevent future leaks from occurring around where your shower arm connects to the wall pipe, thread-sealing tape should be applied before reattaching it securely back into place with an adjustable wrench or pliers as needed, depending upon which type was initially installed during the installation process (i.e., threaded vs. compression fittings).
Attach the newly cleaned or replaced shower head back to its original position on top of your now sealed-off plumbing system! And voila—say goodbye once and for all those pesky dripping sounds coming from behind closed doors when you least expect them.
Clean the Shower Head and Handle
When it comes to fixing a leaking shower, one of the first steps you should take is cleaning the shower head and handle. Over time, mineral deposits and debris can build up in these areas, causing leaks or reduced water flow.
To start, remove the shower head by unscrewing it from the shower arm. Then, soak it in vinegar for about an hour to break down any stubborn buildup. After soaking, scrub away any remaining residue with a toothbrush or cloth. Don’t forget to clean the handle as well, using a mild soap or vinegar solution. By keeping these components clean and free from blockages, you can help prevent leaks and ensure optimal performance for your shower system.
Turn off the Water Supply
When it comes to fixing a leaking shower, one of the first steps you should take is to turn off the water supply. This simple action can help prevent any further damage and make it easier for you to work on repairing the problem.
To turn off the water supply, locate the shut-off valve near your shower. It’s typically found in the bathroom or basement. Turn the valve clockwise until it is fully closed. This will stop any water from flowing into your shower while you address the leak.
Remember, safety should always come first when working with plumbing issues. By turning off the water supply before attempting any repairs, you can avoid potential accidents and ensure a smoother fix for your leaking shower.
Remove the Shower Head
To tackle a leaking shower, one important step is to remove the shower head. This may sound daunting, but with the right tools and approach, it’s quite simple! Here’s how you can do it:
Turn off the water supply to avoid any potential mess or accidents. Next, use an adjustable wrench or pliers to loosen the connection between the shower head and the shower arm in a counterclockwise direction. Once loosened, carefully unscrew the shower head by hand until it comes off completely.
Now that you have successfully removed the shower head, you can move on to the other necessary steps for fixing your leaking bathroom shower. Remember to keep track of any small parts, such as washers or O-rings, that may have come loose during this process; they will be crucial when reassembling everything later on!
By removing the shower head properly and safely, you’re one step closer to resolving your leaking problem. Stay tuned for more tips on how to keep a bathroom shower from leaking!
Soak the Shower Head in Vinegar
If you’ve noticed a leak in your bathroom shower, one possible cause could be a clogged or damaged shower head. Over time, mineral deposits and debris can build up inside the shower head, leading to leaks and reduced water flow. One simple solution to this problem is to soak the shower head in vinegar.
To start, you’ll need to remove the shower head from its mount or arm. This can usually be done by twisting it counterclockwise. Once removed, fill a bowl with enough white vinegar to fully submerge the shower head. Place the shower head into the bowl and let it soak for at least 30 minutes or longer if there is heavy buildup.
The acidity of vinegar helps dissolve mineral deposits and grime that may be causing leaks in your shower head. After soaking, use an old toothbrush or cloth to scrub away any remaining residue. Rinse thoroughly with water before reattaching the shower head back to its mount or arm.
By taking these steps and using vinegar as a natural cleaning agent, you can effectively address potential leaks caused by blockages in your bathroom shower’s fixtures without resorting to harsh chemicals or expensive repairs!
Check and Replace Worn Seals or O-rings
If you’ve noticed water leaking from your bathroom shower, one common culprit could be worn seals or O-rings. Over time, these small rubber components can deteriorate and lose their effectiveness in preventing leaks. Thankfully, checking and replacing them is a relatively simple process.
To start, turn off the water supply to your shower. This will prevent any further leakage while you work on the seals or O-rings. Next, carefully remove any parts that cover the area where the seals or O-rings are located. Inspect them closely for signs of wear or damage, such as cracks or tears.
Once you’ve identified worn seals or O-rings, it’s time to replace them. Most hardware stores carry replacement kits specifically designed for this purpose. Simply follow the instructions included with the kit to ensure proper installation. By addressing this issue promptly, you’ll be well on your way to stopping that annoying bathroom shower leak!
Replace the Faucet Washer (for Compression Faucets)
Don’t worry if a compression faucet is the cause of your shower leak. There’s a simple fix that can save you from any further water damage. All you need to do is replace the faucet washer. Here’s how:
- First, turn off the water supply to your shower. This will prevent any accidental leaks while you’re working on replacing the washer.
- Next, remove the handle of your shower faucet. You may need a screwdriver or wrench for this step. Once removed, locate the valve stem assembly inside.
- Take out the old washer from the valve seat using pliers or another suitable tool. Inspect it closely for any signs of wear or tear.
- Now it’s time to install the new faucet washer. Make sure it fits snugly into place before reassembling everything back together.
By replacing the worn-out faucet washer in your compression faucets, you can effectively stop those frustrating leaks once and for all! Keep reading for more tips on fixing common causes of bathroom shower leakage.
Consider a Shower Cartridge Replacement
If you’ve tried all the previous steps and your shower is still leaking, it might be time to consider replacing the shower cartridge. The shower cartridge controls the flow of water and can become worn or damaged over time, leading to leaks.
To replace the shower cartridge, start by turning off the water supply to your bathroom. Next, remove any decorative caps or handles covering the cartridge. Use a screwdriver or Allen wrench (depending on your specific faucet) to unscrew and remove the old cartridge.
Once you have removed the old cartridge, take it with you when purchasing a replacement to ensure you get an exact match. Install the new cartridge according to manufacturer instructions, making sure all connections are tight and secure.
Considering a shower cartridge replacement can solve persistent leaking issues and restore functionality to your shower. Don’t hesitate to seek professional help if needed for this task!
Seal the Shower Arm with Thread-Sealing Tape
One common cause of a leaking shower is a loose or faulty connection between the shower arm and the pipe in the wall. To fix this issue, you can seal the shower arm using thread-sealing tape. This simple yet effective method can help prevent any water from escaping and causing further damage.
To begin, ensure that your water supply is turned off before starting any repairs. Once that’s done, unscrew the shower head from the arm by turning it counterclockwise. Take note of any existing tape on the threads and remove it if necessary.
Next, grab your thread-sealing tape and wrap it around the threads on both ends of the shower arm. Make sure to apply a tight but not overly excessive amount of tape to create a watertight seal when screwing everything back together.
By sealing your shower arm with thread-sealing tape, you are taking an important step towards stopping leaks in their tracks and keeping your bathroom dry and functional!
Replace the Shower Head
Replacing the shower head is often a last resort when it comes to fixing a leaking bathroom shower. However, if you have tried all the previous steps and are still facing issues with leaks, it may be time to consider this option.
To replace the shower head, start by turning off the water supply again. Detach the existing shower head from its arm by unscrewing it counterclockwise. Then, take your new shower head and screw it onto the arm in a clockwise direction until it is secure.
Make sure to use thread-sealing tape on the threads of the arm before attaching the new shower head. This will ensure a tight and secure connection that prevents any potential leaks.
Once you have replaced the shower head, turn on the water supply and check for any signs of leakage or dripping. If everything looks good, congratulations! You have successfully stopped your bathroom shower from leaking.
Remember that regular maintenance can help prevent future leaks from occurring. Keep an eye out for any signs of wear or damage to your bathroom fixtures and address them promptly to avoid more significant problems down the line.
By following these step-by-step instructions and understanding what causes a leaking bathroom shower, you can save yourself from unnecessary frustration and expenses associated with constant dripping or water damage. Take control of your showers today by implementing these simple fixes!
Now go ahead and enjoy leak-free showers without worrying about wasted water or potential damage to your bathroom space.


