How to Repair Bathroom Tile Grout for Beginners
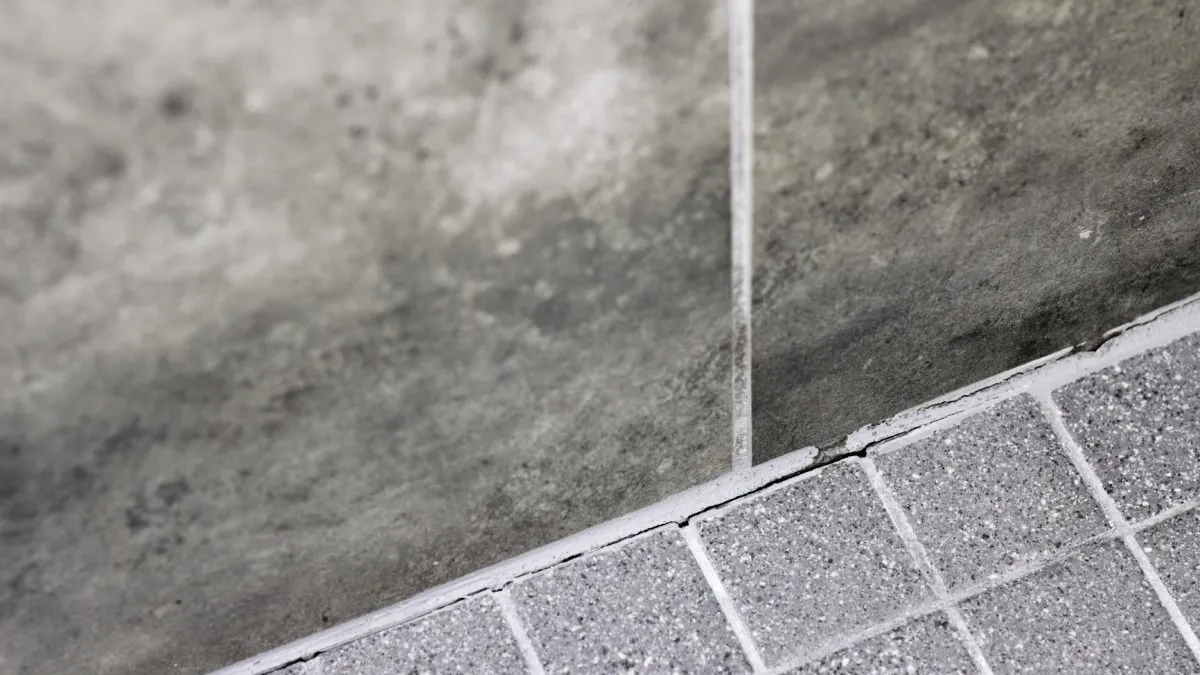
Are you tired of staring at those unsightly cracks and stains in your bathroom tile grout? Don’t worry, you’re not alone! Over time, grout can deteriorate due to wear and tear, moisture, or simply the passage of time. But fear not, because repairing bathroom tile grout is a task that even beginners can tackle with confidence!
We will guide you through the process of repairing bathroom tile grout step by step. From understanding the importance of grout repair to selecting the right color and applying it correctly, we’ve got you covered.
So say goodbye to grimy grout lines and hello to a revitalized bathroom space! Let’s dive in and learn how to repair bathroom tile grout like a pro.
Understanding the Importance of Grout Repair
Grout repair may seem like a small task, but it plays a crucial role in maintaining the overall appearance and functionality of your bathroom tiles. Ignoring damaged grout can lead to water seepage, mold growth, and even tile damage. Understanding the importance of grout repair ensures that you take proactive steps to keep your bathroom looking its best for years to come. Keep reading to learn more about why grout repair should be on your priority list!
Preparing for Grout Repair
Before diving into the grout repair process, it’s important to properly prepare your bathroom tiles. This involves cleaning the tiles thoroughly to remove any dirt or debris that could interfere with the grout application. Additionally, selecting a matching grout color is essential to ensuring a seamless and cohesive look.
Cleaning the Tiles
Cleaning the tiles is an essential step in preparing for grout repair. Start by sweeping or vacuuming to remove loose dirt and debris. Next, mix a mild cleaning solution of water and vinegar or a commercial tile cleaner. Use a sponge or mop to scrub the tiles gently, paying attention to any stubborn stains. Rinse with clean water and allow the tiles to dry completely before moving on to the next step.
Selecting a Matching Grout Color
When it comes to repairing bathroom tile grout, selecting the right color is crucial. You want a grout that seamlessly blends with your existing tiles, creating a cohesive and polished look. Take your time and consider factors like tile color, size, and overall aesthetic to ensure you choose the perfect match. Don’t rush this step; it can make all the difference in achieving professional-looking results.
Stay tuned for Step 7 on how to apply a protective sealant to your repaired bathroom tile grout!
Step 1: Removing the Damaged Grout
Now that you’re ready to tackle your grout repair project, it’s time to roll up your sleeves and start removing the damaged grout. This step is crucial in preparing the surface for fresh grout application. Grab a grout removal tool or a small chisel and carefully scrape away the old, cracked, or discolored grout from between the tiles. Take your time and be patient as you work your way along each line of grout, ensuring that all traces of damage are removed completely. Remember, this is just the first step towards restoring your bathroom tile to its former glory!
Step 2: Vacuuming the Grout Particles
After removing the damaged grout, it’s time to clean up those pesky particles. Grab your trusty vacuum cleaner and start sucking them away. Make sure to get into all the nooks and crannies for a thorough clean. It may seem like a small step, but it makes a big difference in achieving that pristine finish!
Step 3: Wetting the Tiles
Wetting the tiles is an important step in repairing bathroom tile grout. It helps to prevent the new grout from drying too quickly, ensuring a strong bond with the tiles. Use a spray bottle or sponge to lightly dampen the surface before applying the grout.
Step 4: Applying the Grout
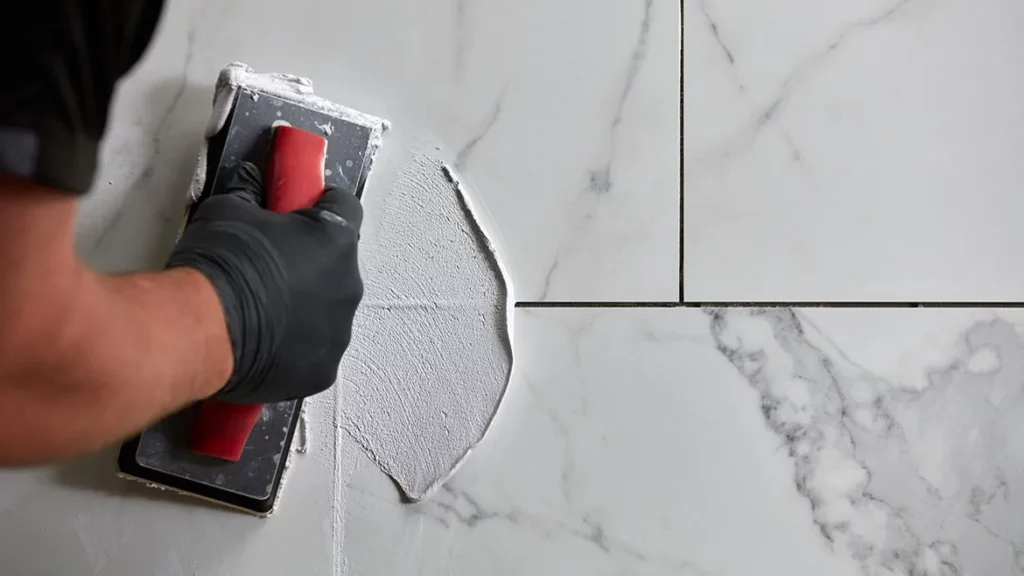
Now comes the fun part—it’s time to apply the grout! Grab your grout float and start spreading it over the tiles, making sure all the gaps are filled. Work in small sections to ensure even coverage. Keep a damp sponge handy to wipe away any excess grout as you go. Take your time and enjoy seeing your tiles come back to life!
Step 5: Removing Excess Grout
After applying the grout, it’s time to get rid of any excess. Use a damp sponge or cloth to gently wipe away the excess grout from the surface of the tiles. Be careful not to disturb or dislodge any freshly applied grout.
Step 6: Allowing the Grout to Set
After applying the grout, it’s important to give it time to set and cure properly. This step allows the grout to harden and bond with the tiles, ensuring a strong and durable finish. Be patient during this process, as rushing can lead to compromised results. Give your grout the time it needs for optimal performance!
Step 7: Applying a Grout Sealant
To ensure long-lasting grout repair, applying a grout sealant is crucial. This protective layer helps prevent moisture and stains from penetrating the grout lines. Using a small brush or applicator, carefully apply the sealant to the clean and dry grout surface. Allow it to dry completely before using the bathroom again. Don’t skip this step for durable results!
Tips and Tricks for Successful Grout Repair
When it comes to repairing bathroom tile grout, there are a few tips and tricks that can make the process easier and more effective. First, always prioritize safety by wearing gloves and protective eyewear. Additionally, choose a high-quality grout sealant to ensure long-lasting results. Avoid common mistakes like using too much water or applying too little pressure when removing excess grout. By following these tips, you’ll be on your way to achieving successful grout repair!
Safety Considerations During Grout Repair
During the grout repair process, it’s important to prioritize safety. Wear protective gloves and goggles to shield yourself from any potential irritants or chemicals. Additionally, ensure proper ventilation in the bathroom by opening windows or using fans. Safety should always be a top priority when undertaking any home improvement project!
Common Mistakes to Avoid
When it comes to repairing bathroom tile grout, there are some common mistakes that beginners should avoid. One of these is using too much water when mixing the grout, as this can weaken its strength and durability. Another mistake is rushing through the application process without properly cleaning or preparing the tiles. Taking your time and following each step carefully will help ensure a successful repair job.
Final Thoughts and Maintenance Tips for Long-Lasting Grout
Importance of Regular Grout Maintenance
Regular maintenance is key to ensuring the longevity and durability of your bathroom tile grout. By taking a proactive approach, you can prevent future damage and save yourself from the hassle of extensive repairs. Make it a habit to clean your tiles regularly with non-abrasive cleaners and avoid using harsh chemicals that can erode the grout. Additionally, inspect your grout periodically for any signs of wear or cracks, and address them promptly to prevent further damage. Taking these simple steps will help maintain the beauty and functionality of your bathroom tiles for years to come.
Additional Maintenance Tips
In addition to regular cleaning, there are a few extra tips that can help prolong the life of your bathroom tile grout:
- Steer clear of too much moisture: Over time, too much moisture can deteriorate the grout lines. Be mindful when using excessive amounts of water in areas surrounding the shower or bathtub.
- Use caulk in high-moisture areas: In areas prone to constant exposure to water, like corners or joints between tiles and fixtures, consider applying silicone caulk instead of traditional grout. Caulk provides better waterproofing capabilities and flexibility.
- Protect against stains: Apply a grout sealant every 6–12 months (depending on usage) to create an additional layer of protection against stains caused by spills or dirt buildup.
- Address small issues promptly. If you notice minor cracks or missing sections in your grout, don’t ignore them! Addressing these small issues early on can prevent larger problems down the road.
By following these maintenance tips along with our step-by-step guide for repairing bathroom tile grout, even beginners can keep their bathrooms looking fresh and well-maintained! Remember, prevention is always better than cure when it comes to maintaining beautiful tile surfaces in your home!
Importance of Regular Grout Maintenance
Regular grout maintenance is crucial to keeping your bathroom tiles looking their best. By cleaning and sealing the grout regularly, you can prevent dirt, mold, and stains from building up. This not only enhances the appearance of your bathroom but also extends the lifespan of your tiles. So don’t neglect regular grout maintenance!
Additional Maintenance Tips
To keep your bathroom tile grout looking fresh and in good condition, there are a few additional maintenance tips you can follow. Regularly clean the tiles with a mild detergent and water solution to prevent buildup. Avoid using abrasive cleaners that could damage the grout. Consider resealing the grout every year or as needed to maintain its durability. Stay on top of any repairs or touch-ups to ensure your bathroom stays beautiful for years to come!
Conclusion
Repairing bathroom tile grout may seem like a daunting task, but with the right tools and techniques, even beginners can achieve great results. By understanding the importance of grout repair, preparing properly, and following a step-by-step guide, you can restore your grout to its former glory.
Remember to start by cleaning the tiles thoroughly and selecting a matching grout color for seamless blending. Removing damaged grout is a crucial first step before applying new grout. Vacuuming away any residual particles and wetting the tiles will ensure proper adhesion.
When applying the new grout, be sure to remove excess material and allow it to be set according to the manufacturer’s instructions. Applying a protective sealant will help prolong the life of your newly repaired grout.
To ensure successful repairs, keep these tips in mind:
1. Safety always comes first! Wear gloves and eye protection when working with chemicals or sharp tools.
2. Avoid common mistakes such as using too much water when mixing the grout or not allowing enough drying time.
3. Regular maintenance is key for long-lasting results. Clean your tiled surfaces regularly with mild cleaners that won’t damage the grout.
By following these guidelines and taking care of your bathroom tile grout, you can enjoy beautiful and functional surfaces for years to come.
So don’t let damaged or discolored grouting bring down the appearance of your bathroom anymore; take action today!
