How to Fix Dent in Drywall
Have you ever walked into a room and noticed an unsightly dent in the drywall? It’s enough to drive any homeowner crazy! But fear not. We’re going to show you how to fix those pesky dents and restore your walls to their former glory. Whether it’s a small dent from an accidental bump or a larger one that requires more advanced techniques, we’ve got you covered. So grab your tools and let’s get started on transforming your damaged drywall back into smooth perfection!
Understanding Different Types of Dents
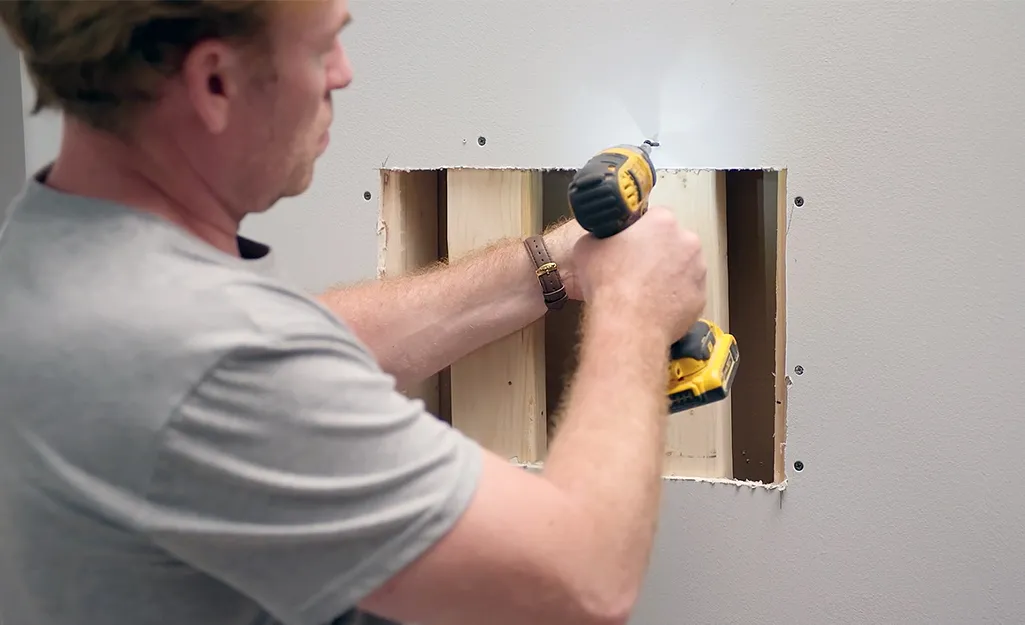
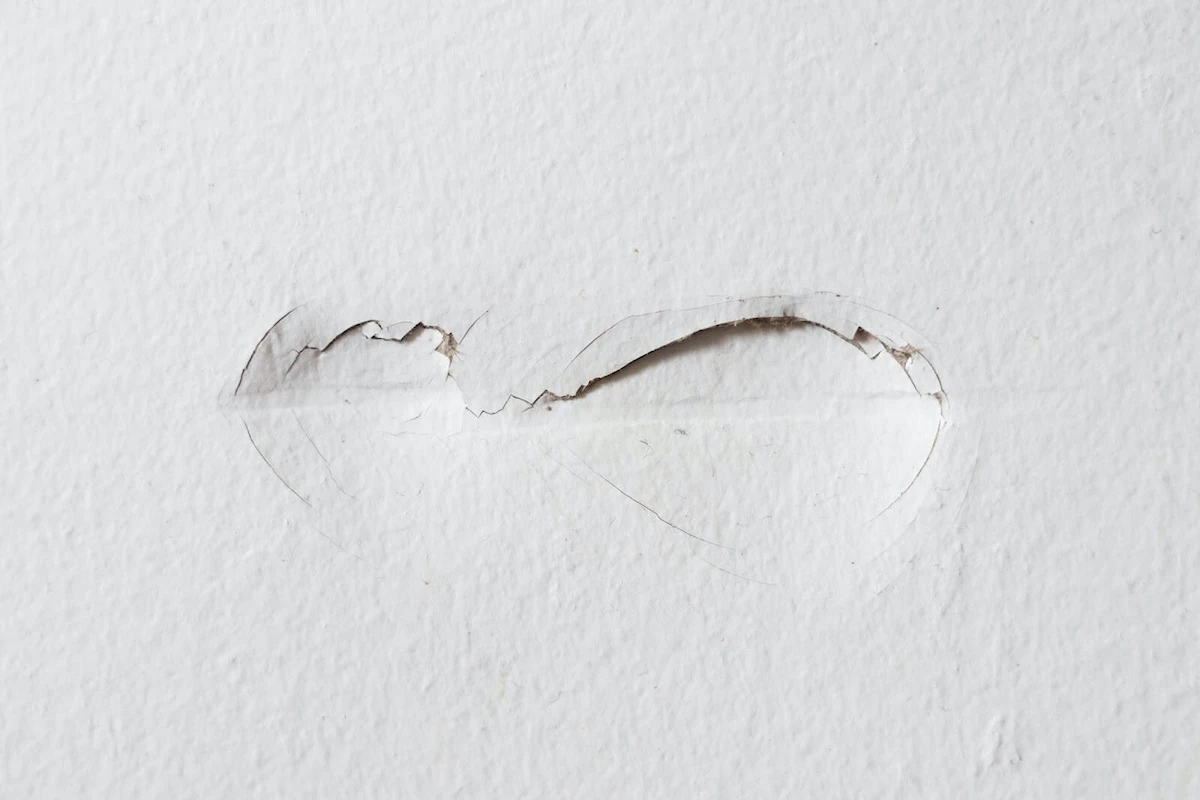
When it comes to fixing dents in drywall, it’s important to understand that not all dents are created equal. There are different types of dents, each requiring a unique approach to repair.
First, let’s talk about small dents. Minor mishaps like furniture bumps or doorknob collisions are frequently the cause of these. They may seem insignificant at first glance, but they can still be an eyesore if left untreated. Luckily, small dents can often be fixed with quick and simple techniques, such as using a putty knife and spackling compound to fill in the damaged area.
On the other hand, large dents require more advanced techniques. These may occur due to heavy impacts or accidents involving sharp objects. In these cases, you might need to use additional tools, like a drywall saw or utility knife, to carefully cut out the damaged portion of the wall before applying a patch.
It’s always wise to seek expert advice when dealing with more severe damage or if you’re unsure about your DIY skills. Consulting professionals who specialize in drywall repair can save you time and ensure that the job is done correctly.
Remember that safety should never be overlooked during any repair project. Always wear protective gear, such as gloves and goggles, when working with tools or chemicals.
Now that we’ve covered the basics of understanding different types of dents in drywall, let’s move on to discussing the essential tools and materials you’ll need for this task.
Small Dents: Quick Fixes
Small dents in drywall can be a frustrating sight, but the good news is that they are usually easier to fix than larger dents. With a few simple tools and techniques, you can restore your wall to its original smooth surface in no time.
One quick fix for small dents is using a spackle or joint compound. Start by cleaning the area around the dent and removing any loose debris. Then, apply a thin layer of spackle or joint compound over the dent using a putty knife. Smooth it out evenly, and let it dry completely.
Once the spackle or joint compound has dried, use sandpaper to gently sand down any rough edges until the patched area blends seamlessly with the rest of the wall. Be sure to wipe away any dust before moving on to painting or finishing touches.
Another option for small dents is using self-adhesive mesh patches. These patches are easy to apply and provide extra reinforcement for areas prone to cracking. Simply cut a patch slightly larger than your dent, peel off the backing, and stick it directly onto the damaged area. Press firmly to ensure adhesion, then follow up with spackling as mentioned earlier.
Remember that these quick fixes may not always yield perfect results like professional repairs would offer, especially if your walls have textured finishes or if there are multiple layers of paint involved. However, they can certainly help improve the appearance of small dents without requiring extensive time or effort on your part!
Large Dents: Advanced Techniques
Large dents in drywall can be quite challenging to fix, but with some advanced techniques, you can restore your walls to their former glory. These techniques require a bit more skill and patience than quick fixes for small dents, but the results are well worth the effort.
One method for repairing large dents is using joint compound and drywall tape. Start by cleaning the damaged area and removing any loose debris. Next, apply a layer of joint compound over the dent, making sure to feather it out around the edges. Then, place a piece of drywall tape over the compound and press it firmly into place. Apply another layer of joint compound over the tape, smoothing it out as much as possible.
For deeper dents or holes in your drywall, you may need to use a patch kit. These kits typically include self-adhesive mesh patches that can be cut to size. Clean the damaged area and remove any loose material before applying the patch. Press it firmly onto the wall, ensuring good adhesion.
Once your repairs are complete, sand down any rough areas until they are smooth and even with the surrounding surfaces. Remember to wear safety goggles and a dust mask while sanding to protect yourself from airborne particles.
These advanced techniques may take more time and effort compared to quick fixes for small dents, but knowing how to tackle larger damage will give you confidence when faced with future repairs.
Expert Advice on Patching Drywall Dents
When it comes to fixing dents in drywall, seeking expert advice is always a smart move. These professionals have years of experience and can offer valuable insights and techniques to ensure a seamless repair. Here are some expert tips to help you patch those unsightly dents in your drywall.
First and foremost, assess the extent of the damage. Is it a small dent or a larger one? This will determine the approach you need to take for repairs. For smaller dents, experts recommend using spackling compound or joint compound, as they provide quick fixes with minimal effort.
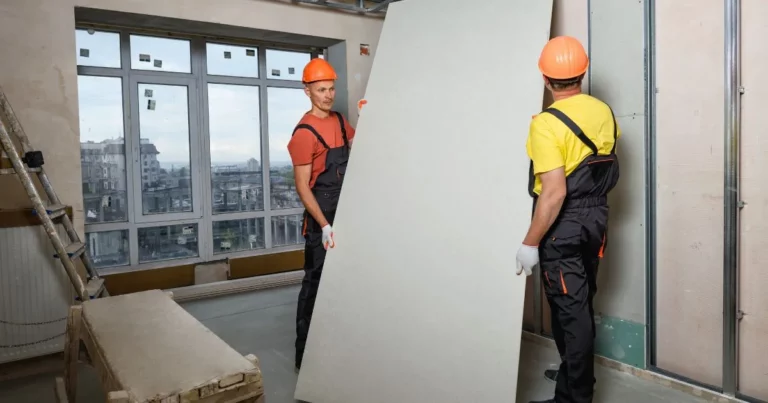
For larger dents, however, advanced techniques are needed. Experts suggest using drywall patches or even replacing sections of damaged drywall altogether. This ensures that the repaired area blends seamlessly with the rest of your wall.
One important piece of advice from experts is to always follow proper safety precautions when working on any home improvement project. Wear protective gear, such as gloves and goggles, to protect yourself from potential hazards like dust or debris.
Now let’s talk about the tools and materials you’ll need for patching drywall dents effectively. Some essential items include sandpaper, a putty knife, joint compound or packing paste, adhesive mesh tape (for large holes), paintbrushes or rollers, primer or sealer, and matching paint color for finishing touches.
To begin the process of fixing dents in your drywall according to expert recommendations:
1) Start by preparing the damaged area by cleaning off any loose debris.
2) Apply an appropriate amount of joint compound or packing paste over the dent with a putty knife.
3) Smooth out the surface using light strokes until it becomes level with the surrounding areas.
4) Allow sufficient time for drying before proceeding further.
Experts emphasize blending patched areas smoothly into existing walls for optimal results. To achieve this:
1) Use fine-grit sandpaper to gently feather the edges of the patch.
2) Apply multiple thin layers of joint compound or SP.
Safety Precautions
Safety should always be a top priority when working on any home improvement project and fixing dents in drywall is no exception. Here are some important safety precautions to keep in mind before you begin:
- Wear protective gear: Before starting the repair process, make sure to wear safety goggles, gloves, and a dust mask to protect yourself from airborne particles and sharp objects.
- Turn off electricity: If the dent is near an electrical outlet or switch, turn off the power at the circuit breaker before starting any repairs. This will help prevent accidental electric shocks.
- Use proper ladder safety: If you need to reach high areas of your wall, use a sturdy ladder with non-slip feet and ensure it is properly secured against the wall for stability.
- Be cautious with tools. When using tools such as hammers or screwdrivers to remove damaged sections or apply patches, handle them carefully and avoid applying excessive force that could cause injury or further damage.
- Work in well-ventilated areas: Proper ventilation is essential when working with drywall materials such as joint compounds or sanding dust. Open windows and doors or use fans to ensure good airflow while working.
Remember, accidents can happen even during simple DIY projects like fixing dents in drywall. By following these safety precautions, you can minimize risks and complete your repair job safely.
Tools and Materials You’ll Need
When it comes to fixing a dent in your drywall, having the right tools and materials is essential. Here are some items you’ll need to get the job done:
- Putty knife: This versatile tool will help you apply and smooth out the patching compound.
- Sandpaper: Use fine-grit sandpaper to gently sand down the patched area for a seamless finish.
- Patching compound: Choose a lightweight spackling or joint compound that is easy to work with and dries quickly.
- Drywall tape: If the dent has caused any cracks, use self-adhesive drywall tape to reinforce the repair.
- Primer: Before painting, apply a coat of primer to ensure an even color and better adhesion of paint.
- Paintbrushes or rollers: Depending on your preference, have brushes or rollers ready for applying paint over the repaired area.
- Drop cloth or plastic sheeting: Protect your floors and furniture from any stray debris or paint splatters by covering them with drop cloths or plastic sheeting.
Remember, safety should always be a priority when working with tools. Wear protective goggles, gloves, and a dust mask as needed.
By gathering all these necessary tools ahead of time, you’ll be well-prepared to tackle those pesky dents in your drywall!
Step-by-Step Guide to Fixing Dents in Drywall
Step 1: Assess the Damage
Before you dive into fixing the dent in your drywall, take a moment to assess the extent of the damage. Is it a small, shallow dent or a larger, more significant one? This will determine which approach you should take when it comes to repairing it.
Step 2: Gather Your Tools and Materials
To fix the dent in your drywall, you’ll need some basic tools and materials. These may include a putty knife, sandpaper, joint compound, primer, paintbrushes, and matching paint colors. Make sure you have everything on hand before starting the repair process.
Step 3: Prepare the Area
Clean any loose debris or dust from around the dent using a brush or vacuum cleaner. Next, use your putty knife to gently scrape away any protruding edges around the dent. This will ensure that your repair patch sits flush with the rest of the wall surface.
Step 4: Apply Joint Compound
Using your putty knife again, apply a thin layer of joint compound over and around the dent. Smooth it out as much as possible to create an even surface for painting later on.
Step 5: Sand and Repeat
Allow the joint compound to dry completely according to package instructions. Once dry, lightly sand down any rough areas until they are smooth and blend seamlessly with the surrounding wall texture. If needed, apply another layer of joint compound and repeat this step until satisfied with the results.
Step 6: Prime and Paint
Once all repairs are complete and dried thoroughly (follow the manufacturer’s guidelines), prime over the patched area before applying paint for optimal adhesion and color consistency; use a quality paintbrush or roller for best results.
Fixing dents in drywall may seem intimidating at first, but following these step-by-step instructions can help you achieve professional-looking results without breaking a sweat! Remember, patience is key when working with drying times between layers, so take your time and enjoy the process of restoring your walls to their former glory.
Tips for Smoothly Blending the Patched Area
- Sand it down: Once you have patched the dent in your drywall, sanding is crucial to achieving a smooth finish. Start with a coarse-grit sandpaper to level out any inconsistencies, and then switch to a finer grit for a more polished look. Be sure to feather the edges of the patch so that it seamlessly blends with the surrounding wall.
- Use primer: Before painting, apply a coat of primer over the patched area. This will help create an even surface and ensure that the paint adheres properly. Primer also helps prevent stains from bleeding through your final paint job.
- Match the texture: If your walls have a textured finish, recreating this texture on the patched area is essential for seamless blending. You can use various techniques, such as using a stippling brush or applying a joint compound with a trowel, to match the existing texture.
- Gradually build up layers: When applying joint compound or spackle to fill in larger dents, it’s best to do so in thin layers rather than trying to fill it all at once. Allow each layer to dry before adding another one, and remember to feather out each layer slightly beyond its previous edge.
- Blend colors: To ensure color consistency throughout your wall, blend fresh paint with some of the existing wall colors by mixing them before applying it over your patchwork.
By following these tips, you’ll be able to smoothly blend and disguise any patched areas on your drywall without leaving behind obvious signs of repair work!
Finishing Touches: Painting and Finishing
Once you have successfully patched the dent in your drywall, it’s time to move on to the finishing touches—painting and finishing. This step is crucial for achieving a seamless look and ensuring that the repaired area blends seamlessly with the rest of your wall.
Before you begin painting, make sure that the patched area is completely dry. Sand down any rough edges or excess compounds using fine-grit sandpaper to create a smooth surface. Wipe away any dust with a damp cloth before proceeding.
Next, apply a coat of primer to the repaired area. Primer helps create an even base for paint adhesion and ensures that the color will appear consistent across your wall. Allow the primer to dry according to the manufacturer’s instructions.
Once the primer is dry, it’s time to paint! Choose a high-quality paint in a shade that matches your existing wall color. Using a small brush or roller, carefully apply multiple thin coats of paint over the patched area, allowing each coat to fully dry before applying another.
To achieve a flawless finish, feather out the edges of each coat by slightly overlapping onto surrounding painted areas. This technique helps blend in the repair so that it becomes virtually indistinguishable from its surroundings.
Let your freshly painted patch cure for at least 24 hours before touching or moving furniture back into place. This will ensure that your hard work doesn’t get smudged or ruined prematurely.
Remember, patience and attention to detail are key when it comes to painting and finishing dents in drywall. With proper care and technique, you can achieve professional-looking results without breaking a sweat!
For more detailed instructions on painting techniques or additional tips on repairing dents in drywall, consult reputable DIY guides or seek advice from professionals who specialize in home repairs.
Additional Resources and References
H2: Fixing dents in drywall can sometimes be a challenging task, but with the right knowledge and techniques, you can restore your walls to their former glory. If you’re looking for more information or additional guidance on this topic, here are some resources and references that you may find helpful:
- Online tutorials: There are numerous video tutorials available on platforms like YouTube that provide step-by-step instructions on fixing dents in drywall. These visual guides can be particularly useful for those who prefer a more hands-on approach.
- Home improvement books: Many books dedicated to DIY home repairs offer detailed explanations and illustrations of how to fix common issues with drywall, including dents. Check out your local library or bookstore for titles that cover this topic.
- Manufacturer’s recommendations: If your drywall was installed by a professional or came with specific instructions from the manufacturer, it’s important to follow their guidelines when attempting any repairs. Check the product documentation or contact the manufacturer directly for advice tailored to your specific situation.
- Professional contractors: Sometimes, it may be best to leave certain repairs in the hands of professionals who have experience dealing with various types of wall damage. Hiring a contractor ensures that the job is done correctly and efficiently while saving you time and potential frustration.
Remember, safety should always be your top priority when working on home repairs, so don’t hesitate to consult experts if needed.
By following these tips and utilizing available resources, you’ll soon become an expert at fixing dents in drywall! With patience and practice, you’ll be able to tackle any imperfections that arise without breaking a sweat!
Happy repairing!
