How to Fix a Hole in Drywall Ceiling
Has an unsightly hole marred your previously flawless and spotless drywall ceiling? Don’t panic! While it may seem like a daunting task, fixing a hole in your drywall ceiling is quite manageable with the right tools and techniques. We’ll walk you through the process of repairing your damaged ceiling so that it looks as good as new. Say goodbye to those eyesores and hello to a beautifully restored space! So roll up your sleeves, grab your toolkit, and let’s get started on transforming that blemished ceiling into a seamless masterpiece.
Assessing the damage and gathering supplies to fix a hole in your drywall ceiling

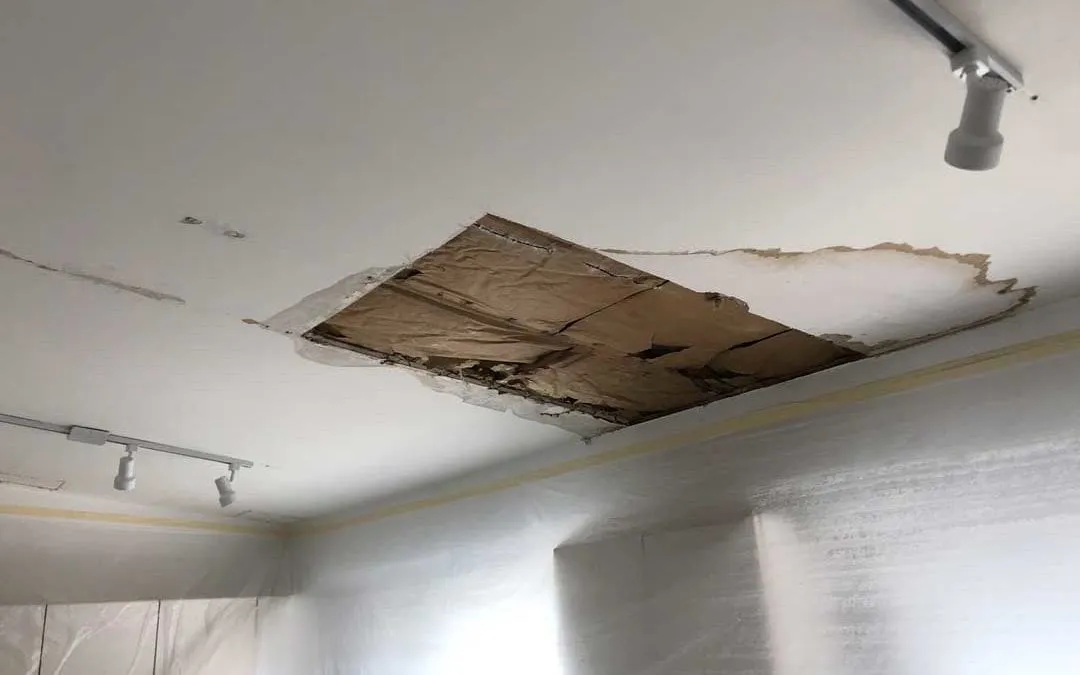
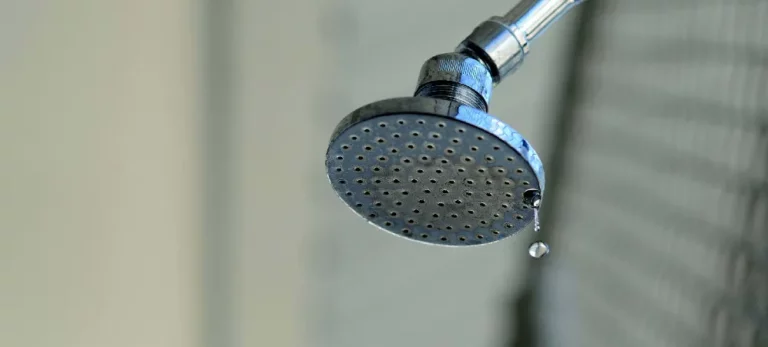
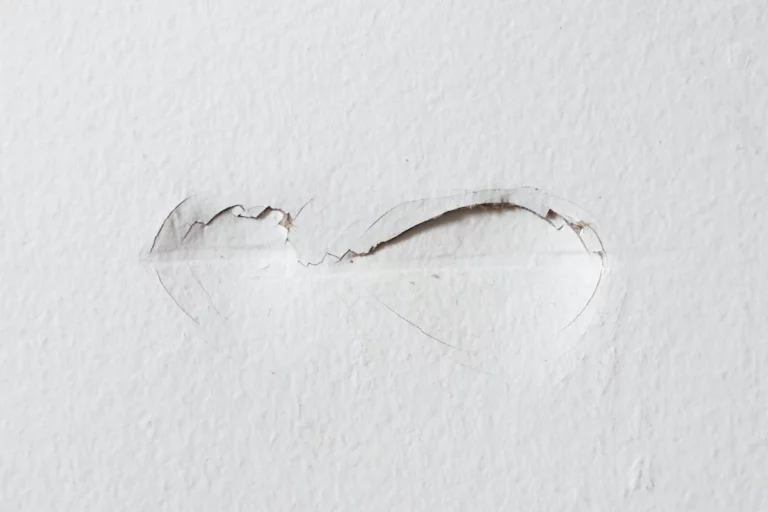
Assessing the damage and gathering supplies is the crucial first step in fixing a hole in your drywall ceiling. Before you can start repairing, you need to determine the extent of the damage. Is it a small hole or a larger one? Are there any underlying issues that caused the damage, such as water leaks?
Once you have assessed the damage, it’s time to gather all the necessary supplies for your repair job. You’ll need tools like a utility knife, measuring tape, and a putty knife. Don’t forget to stock up on drywall compound, sandpaper, and joint tape. Having everything ready before you begin will make the process smoother and more efficient. So grab your tools and materials—it’s time to get started!
1. Cutting out the damaged section of drywall
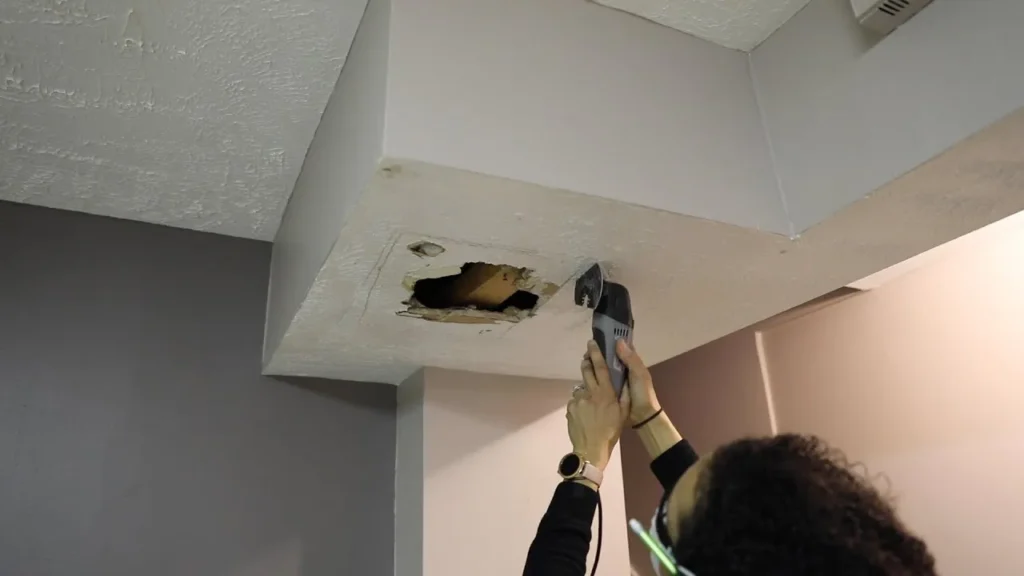
When it comes to fixing a hole in your drywall ceiling, the first step is to cut out the damaged section. This may seem intimidating at first, but with the right tools and techniques, it can be a straightforward process.
To begin, you’ll need a utility knife or drywall saw to cut around the damaged area carefully. Start by making vertical cuts along the edges of the hole, ensuring they are straight and clean. Then make horizontal cuts across the top and bottom of the hole. Be cautious not to go too deep into the surrounding drywall.
Once you’ve made these cuts, gently pry out the damaged section using a putty knife or screwdriver. Take care not to damage any adjacent areas as you remove it. With this step complete, you’re ready for the next phase of repairing your drywall ceiling!
2. Installing a replacement piece of drywall
When it comes to fixing a hole in your drywall ceiling, installing a replacement piece of drywall is an essential step. This process involves cutting out the damaged section and carefully fitting in a new piece that matches the existing ceiling.
To start, measure the size of the hole and cut a corresponding piece of drywall using a utility knife or saw. Make sure to remove any loose debris around the edges before inserting the replacement piece into place. Use screws or nails to secure it firmly to the surrounding joists or studs.
Next, apply the joint compound along the seams between the new and existing drywall, as well as over any screw heads or nail holes. Smooth out the compound with a putty knife and let it dry completely before moving on to sanding and finishing techniques.
Remember, precision is key when installing a replacement piece of drywall for seamless repairs. Take your time and ensure that everything lines up perfectly before proceeding with further steps to restore your ceiling’s pristine condition!
3. Applying drywall compound and tape
Applying drywall compound and tape is a crucial step in fixing a hole in your drywall ceiling. This process helps to create a seamless surface that blends with the surrounding area.
To begin, you’ll need to apply a thin layer of drywall compound over the edges of the hole using a putty knife. Make sure to feather it outward for a smooth transition. Next, place self-adhesive mesh tape over the compound, pressing it firmly into place. This tape helps reinforce the repair and prevents cracks from forming in the future.
Once the tape is secured, apply another layer of compound over it, extending beyond the edges of the tape by about 2 inches on each side. Use long strokes to spread and smooth out the compound until it’s even with the surrounding surface. Allow it to dry completely before moving on to sanding and finishing touches.
Remember, taking your time during this step will ensure a professional-looking finish that seamlessly blends with your existing ceiling!
4. Smoothing and sanding the repaired area
Now that you’ve applied the drywall compound and tape to your repaired area, it’s time to move on to the next step: smoothing and sanding. This crucial step ensures a seamless finish and prepares the surface for priming and painting.
Start by using a putty knife or drywall sander to carefully smooth out any ridges or bumps in the dried compound. Take your time with this process, as achieving a perfectly smooth surface is key to a professional-looking repair job.
Once you’ve smoothed out any imperfections, grab some fine-grit sandpaper and lightly sand the entire repaired area. This step helps blend the repaired section with the surrounding ceiling, creating an even texture that will be easier to paint over later. Remember to wipe away any dust before moving on to priming and painting!
5. Priming and painting the repaired ceiling
After successfully smoothing and sanding the repaired area of your drywall ceiling, it’s time to move on to the next crucial step: priming and painting. Priming is essential, as it helps create a smooth surface for paint adhesion, ensuring a seamless finish.
To begin, apply a coat of primer using a roller or brush. Make sure to cover the entire repaired section evenly with primer, extending slightly beyond the edges for blending purposes. Allow the primer to fully dry according to the manufacturer’s instructions before moving on.
Once the primer is dry, it’s time to add some color! Choose paint that matches your existing ceiling or opt for an entirely new look if you desire. Apply two coats of paint over the primed area, allowing each coat ample drying time in between. Remember to feather out any brush or roller marks for a professional-looking result. And voila! Your repaired ceiling will look as good as new with fresh paint applied seamlessly over the patched area.
Remember that proper ventilation is important when working with paints and primers; open windows or use fans if necessary. Happy painting!
Can you use drywall to patch a plaster ceiling?
Many homeowners may wonder if it is possible to use drywall to patch a plaster ceiling. The answer is yes; you can use drywall as a patching material for a plaster ceiling.
Drywall is commonly used for repairs because it is easy to work with and readily available at most home improvement stores. When using drywall to patch a plaster ceiling, it’s important to ensure that the damaged area is properly prepared before applying the patch. This may involve removing loose or crumbling plaster and creating a smooth surface for the drywall patch to adhere to. Once the preparation work is complete, the drywall can be cut and fitted into place before being secured with screws or nails.
Using joint compound and tape, the edges of the repair can then be blended seamlessly with the surrounding plaster. Sanding down any rough spots will give your repaired ceiling an even finish. Priming and painting over the patched area will help achieve a uniform appearance throughout your ceiling.
While using drywall as a patching material for a plaster ceiling is possible, proper preparation and technique are crucial for achieving professional-looking results.
Expert tips and tricks for seamless repairs of holes in your drywall ceiling
When it comes to repairing a hole in your drywall ceiling, there are some expert tips and tricks that can help you achieve seamless results. Make sure to use a sharp utility knife when cutting out the damaged section of drywall. This will ensure clean edges and make it easier to install the replacement piece. Apply multiple thin layers of drywall compound rather than one thick layer. This will help create a smooth finish and reduce the risk of cracking. Additionally, be patient during the sanding process; take time to achieve a perfectly smooth surface before priming and painting.
Another tip is to use self-adhesive fiberglass mesh tape instead of paper tape for added strength and durability. Apply this tape over the seams where the new piece meets the existing drywall for extra reinforcement. As you apply each layer of compound, feather out the edges by spreading it wider than just over the patch area. This will blend it seamlessly with the surrounding wall or ceiling texture.
Remember to prime both the repaired area and surrounding surfaces before applying paint. Always take into consideration safety precautions such as wearing protective eyewear and using proper ventilation when working with drywall compound or paint products.
By following these expert tips and tricks, you’ll be able to achieve professional-looking repairs on your drywall ceiling without any noticeable signs of damage or patchwork!
Additional resources for repairing drywall ceilings
When it comes to repairing drywall ceilings, having access to additional resources can be extremely helpful. Whether you’re a seasoned DIYer or tackling this project for the first time, there are several sources you can turn to for guidance and support.
One valuable resource is online tutorials and videos. Platforms like YouTube offer step-by-step guides from experts in the field, allowing you to visually see each stage of the repair process. You can also find articles and blog posts on home improvement websites that provide detailed instructions and tips for fixing holes in drywall ceilings. These resources often include images or diagrams that further illustrate the techniques involved.
Another excellent source of information is your local hardware store or home improvement center. The staff at these establishments are knowledgeable about various products and techniques for repairing drywall ceilings. They can recommend specific tools, supplies, and materials needed for your particular project. Additionally, some stores even offer workshops or classes where you can learn hands-on skills from professionals.
By utilizing these additional resources, you’ll have a wealth of knowledge at your fingertips as you set out to fix a hole in your drywall ceiling!
Frequently asked questions concerning drywall ceiling hole repairs
As we wrap up this guide on how to fix a hole in a drywall ceiling, let’s address some common questions that homeowners often have when it comes to repairing these types of damages.
Can I use drywall to patch a plaster ceiling?
While it is technically possible to use drywall to patch a small hole in a plaster ceiling, it may not provide the best results. Drywall and plaster have different characteristics, so using them together can lead to cracking or uneven surfaces over time. If you’re dealing with a larger hole or extensive damage to a plaster ceiling, it’s recommended to consult with an expert who specializes in plaster repairs.
How long does it take for the repaired area to be ready for painting?
The drying time for the patched area will depend on the type of joint compound used and environmental conditions such as temperature and humidity. Typically, joint compounds take around 24 hours or longer to completely dry. It’s essential to ensure that the surface is fully dried before proceeding with priming and painting.
What if I don’t have all the necessary tools or supplies?
If you don’t have all the required tools or supplies on hand, it’s advisable not to start the repair project until you gather everything needed. Attempting repairs without proper materials can result in subpar outcomes and potentially make things worse. Take your time gathering all the necessary items before starting any repairs.
Can I hire someone instead of doing DIY repairs?
Absolutely! Fixing holes in drywall ceilings can be challenging if you’re inexperienced or lack confidence in your skills. In such cases, hiring professional help is an excellent option since they have expertise and access to specialized equipment and materials needed for seamless repairs.
Remember that each repair job may present unique challenges depending on factors like the size of the hole, location, type of damage, etc., so don’t hesitate to consult a professional if you’re unsure.


