How to Repair a Caved Drywall
How to repair caved-in drywall! Whether you’ve accidentally punched a hole in your wall during an intense game of indoor hockey or discovered some unsightly dents and cracks over time, don’t worry—we’ve got you covered. We’ll walk you through the step-by-step process of patching up those damaged areas and restoring your drywall to its former glory.
So grab your tools and let’s dive right in! By the end of this guide, you’ll not only have the skills to fix any small or large holes but also gain valuable insights into finishing touches that will make your repairs virtually undetectable. Get ready to impress yourself and others with your newfound DIY prowess as we tackle the art of repairing caved-in drywall. Let’s get started!
Assessing the Damage to a Caved Drywall
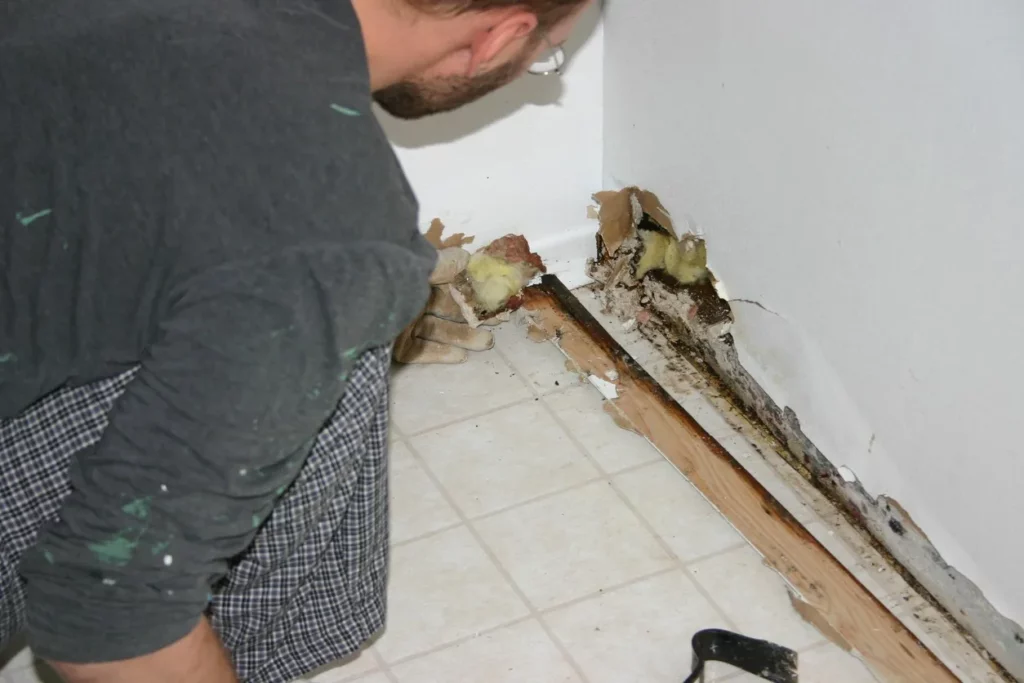
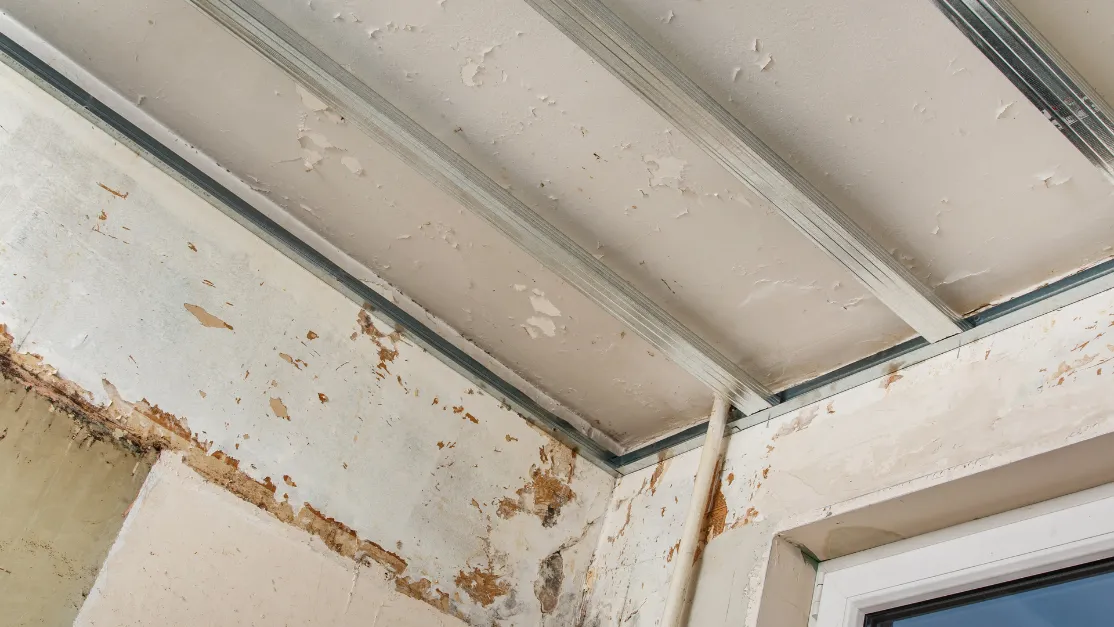
Before jumping into the repair process, it’s important to assess the extent of the damage. Take a close look at your drywall and gauge the size of the hole or dent. It’s also crucial to locate any hidden damage that may be lurking beneath the surface. Understanding these factors will help determine which repair method is best suited for your specific needs. Let’s move on to gauging the size of the hole and locating any additional damage!
Gauging the Size of the Hole
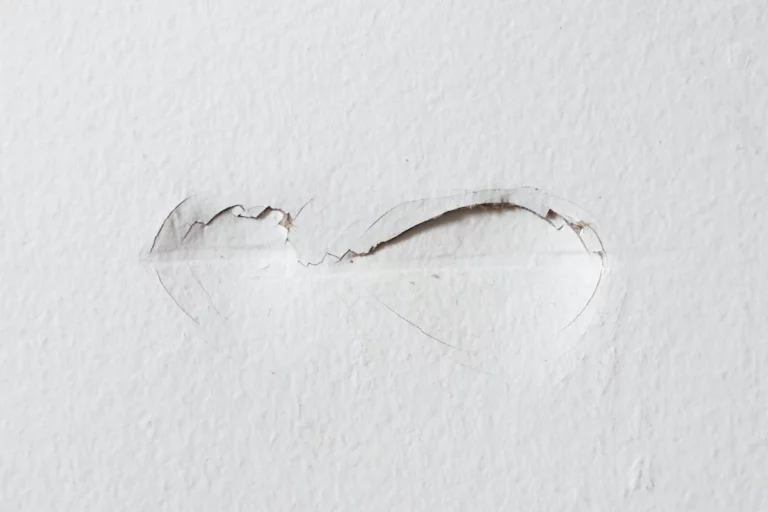
When it comes to repairing caved-in drywall, one of the first steps is assessing the damage. This includes gauging the size of the hole. By determining how big or small the hole is, you can better prepare for the repair process ahead. Let’s dive into this crucial step and learn how to accurately gauge the size of the hole in your drywall.
Locating the Damage
When it comes to repairing caved-in drywall, the first step is locating the damage. Take a thorough look around your walls and ceilings to identify any cracks, holes, or dents. Make note of their size and location so you can plan accordingly for the repair process. Remember, finding the damage is just the beginning!
Gathering the Necessary Supplies
When it comes to repairing caved-in drywall, having the right supplies is essential. Make sure you have all the necessary tools and materials before you begin. From equipment like sandpaper and putty knives to materials like joint tape and spackles, gather everything you need for a successful repair job. Stay prepared!
Equipment/Tools
When it comes to repairing caved drywall, having the right equipment and tools is essential. You’ll need a utility knife for cutting and trimming, a putty knife for applying joint compound, sandpaper for smoothing out rough spots, and a drill or screwdriver for securing the patch. These tools will make your repair job much easier and ensure a professional-looking result. So gather your supplies before getting started!
Materials
When it comes to repairing caved drywall, having the right materials is crucial. Here are some of the essential supplies you’ll need: joint compound, drywall tape, a putty knife, sandpaper, and primer or paint for finishing touches. These materials will help you achieve a seamless repair that blends perfectly with your existing wall. So gather them up before diving into the repair process!
Patching Small Holes and Dents in Drywall
How to Patch Small Holes and Dents in Drywall
Got some small holes or dents in your drywall? No worries, we’ve got you covered! Here’s how you can easily patch them up and make your walls look as good as new: Just follow these simple steps, and you’ll be a pro at repairing small holes in no time!
How to Patch Very Small Holes and Dents
Patching very small holes and dents in drywall is a relatively quick and easy process. Start by cleaning the damaged area with a damp cloth, then apply spackle or putty using a putty knife. Smooth it out, let it dry, sand lightly, and voila! Your wall will look as good as new!
How to Patch Small Holes
Small holes in drywall can be easily patched with a few simple steps. First, clean the area around the hole and apply spackle using a putty knife. Smooth it out and let it dry. Sand the patch until it’s smooth, then prime and paint to match your wall color.
Patching Large Holes in Drywall
Patching large holes in drywall can seem daunting, but with the right approach, it’s a manageable task. Start by cutting and installing a patch of drywall to fit the hole. Then, apply joint tape and joint compound for a seamless finish. It may take some time and effort, but the result will be worth it!
How to Patch Large Holes
Patching large holes in drywall may seem daunting, but with the right techniques, it can be a manageable DIY project. Here’s how you can tackle those bigger holes and restore your wall to its former glory!
Cutting and Installing a Patch of Drywall
When it comes to repairing large holes in drywall, cutting and installing a patch is essential. Measure the damaged area, then carefully cut out a piece of drywall that matches the size. Fit the patch into place, securing it with screws or nails. It’s important to ensure a snug fit for seamless repairs.
Applying Joint Tape and Joint Compound
To ensure a seamless repair, applying joint tape and joint compound is essential. Start by placing the self-adhesive mesh tape over the damaged area. Then, using a putty knife, spread a thin layer of joint compound over the tape, feathering it outward for a smooth finish. Repeat this process until fully covered.
Finishing the Repair
Waiting for the Spackle to Dry
After applying the joint compound, it’s time to let it dry. This step is crucial, as rushing can lead to a compromised repair. Be patient and give the spackle ample time to fully dry before moving on to the next step. Keep in mind that drying times may vary depending on humidity levels and the thickness of the compound applied. Use this waiting period wisely by preparing for the final touches of sanding and painting!
Waiting for the Spackle to Dry
Waiting for the spackle to dry can be a test of patience, but it’s an essential step in repairing caved-in drywall. The drying time will vary depending on the type and thickness of the spackle used. It’s important to wait until it is completely dry before moving on to the next step. Use this time wisely by preparing for the final stages of sanding and painting your repair.
Sanding and Painting the Repair
Once the spackle has dried completely, it’s time to sand and paint the repair. Grab your sandpaper and gently smooth out any rough edges or uneven surfaces. Be sure to wipe away any dust before applying a coat of primer and then your chosen paint color. Your repaired drywall will look as good as new!
Additional Tips and Considerations
When it comes to repairing caved drywall, there are a few additional tips and considerations that can help ensure a successful outcome. One important consideration is whether you need to do touch-ups or paint the whole wall. Before wrapping up, don’t forget to leave us a review of your experience!
Touch-ups vs. Painting the Whole Wall
When it comes to repairing caved-in drywall, one important decision you’ll have to make is whether to do touch-ups or paint the whole wall. Small areas of damage can be quickly fixed with touch-ups, but painting the entire wall can give it a uniformly fresh look. Consider your budget, time constraints, and personal preference before making your choice!
Before you go, leave a review!
Before you head out, we’d love to hear about your experience! Your feedback helps us improve and lets others know what to expect. Leave a review and share your thoughts; it only takes a few moments but makes a big difference for us. Thank you in advance for your valuable input!
Conclusion
Repairing caved drywall may seem like a daunting task, but with the right tools, materials, and techniques, it can be easily accomplished. By following the step-by-step guide outlined in this article, you’ll be able to assess the damage, gather the necessary supplies, and patch both small and large holes in your drywall.
Remember to take your time during the repair process and ensure that each step is done properly. Waiting for the spackle to dry completely before sanding and painting will result in a seamless finish that blends seamlessly with the rest of your wall.
Additionally, if you’re dealing with larger holes or extensive damage to your drywall, don’t hesitate to seek professional help. Hiring an experienced contractor or handyman can save you time and potentially prevent further issues down the line.
Always consider whether touch-ups or painting the entire wall would yield better results based on factors such as color matching and overall appearance. Once you’ve completed your repair project successfully, why not leave a review for others who may benefit from your experience?
With these tips and considerations in mind, repairing caved drywall doesn’t have to be overwhelming. With patience and attention to detail, you’ll have your walls looking as good as new in no time!
